• 1 Post
  • 63 Comments
Joined 2 years ago
cake
Cake day: June 10th, 2023

help-circle


  • How are you powering the pi itself? Wondering if the wakeup draw from your screen is enough to make it unstable, 4 I believe having higher power drawn than the 3 if you’re using the same power supply. Pi isn’t oced either?

    Quick Edit: I run my v2.4 on a lepotato with oodles of usb attachments (camera, multiple mcus, wifi and a screen. Replacing the mcu connections with a usb-canbus bridge when the heatwave ends) but with it connected directly to a meanwell 5v5a PSU into the gpio header, have never had communication issues to the octopus pro I use. Skr mini on the other printer is connected to a laptop host so it definitely has enough power, did have some odd issues with the skr mini and having an accelerometer connected to the spi header on boot and separately the 24v supply becoming loose that I fixed by crimping ferules onto the supply wires when I added a molex connector to make taking the printer out of its enclosure easier.


  • Generally lubricate every few hundred hours, however you really should consider condition based lubrication over time based, over lubrication is actually a really common failure mode for rotary bearings and would not be surprised if the same is true for linear bearings. 50km intervals sounds like an order of magnitude too frequently based on what I recall from Thompson, yeah the bearing type, loading, cleanliness etc all play a part, but their examples are in the hundred of km range, not tens.

    Are you ensuring that you’re actually getting grease into the bearing as well? The MGNxxX bearings are usually sealed, you need to get past them to actually lubricate as you want to expel the degraded grease. Myself, I do some white lithium via syringe and then machine oil on the rails, and even that’s probably excessive. Moving the bearings by hand along their length of travel will give you a feel for them as well, there’s a lot more you could do but I’ll be totally honest that it’s probably not worth doing, consequence of failure is basically nothing in the hobby space (no risk of injury, low costs, no impacts to business, basically if a bearing goes you’re out what like $50? and an hour)


  • I can’t find much literature about it, did find this safe handling procedures from UNSW Sydney if interested. I’d say if you’re concerned, don’t use it. The fibres themselves to me are a concern when out of the polymer, so take precautions when sanding or cutting, glove up and wear a mask + eye protection, probably should consider wet sanding too to reduce airborn dust. Print in an enclosure with ventilation, same precautions you’d take for abs and nylon, you don’t want to be around that when it’s printing. As I said though, if you do have any concerns, don’t use it, there are matte finished filaments if thats the look you’re going for.

    What was CNC kitchen’s concerns? As above, personally I’d be concerned while disturbing the plastic through printing, cutting, sanding etc, just handling it wouldn’t be on the top of my list unless the plastic has degraded or been damaged in some way, pretty much how I’d treat anything with fine fibres or particles in it.

    At the end of it, I’m just some guy on the internet, if you have concerns, don’t risk it. If you do decide to use it, treat it with respect like you would anything with fine particles or fibres.


  • Apparently goo gone has limonene in it, I’d be wary of putting it anywhere near filament depending on the plastic used. I’m personally on the side of clip it and be done, I try to use as much as possible as well, have had the tail out on some spools get caught in the reverse bowden I use depending on the way its been wound, so I do tend to be on the cautious side and why I have smart filament sensors. Would rather lose 5g of filament over failing a print and wasting even more.


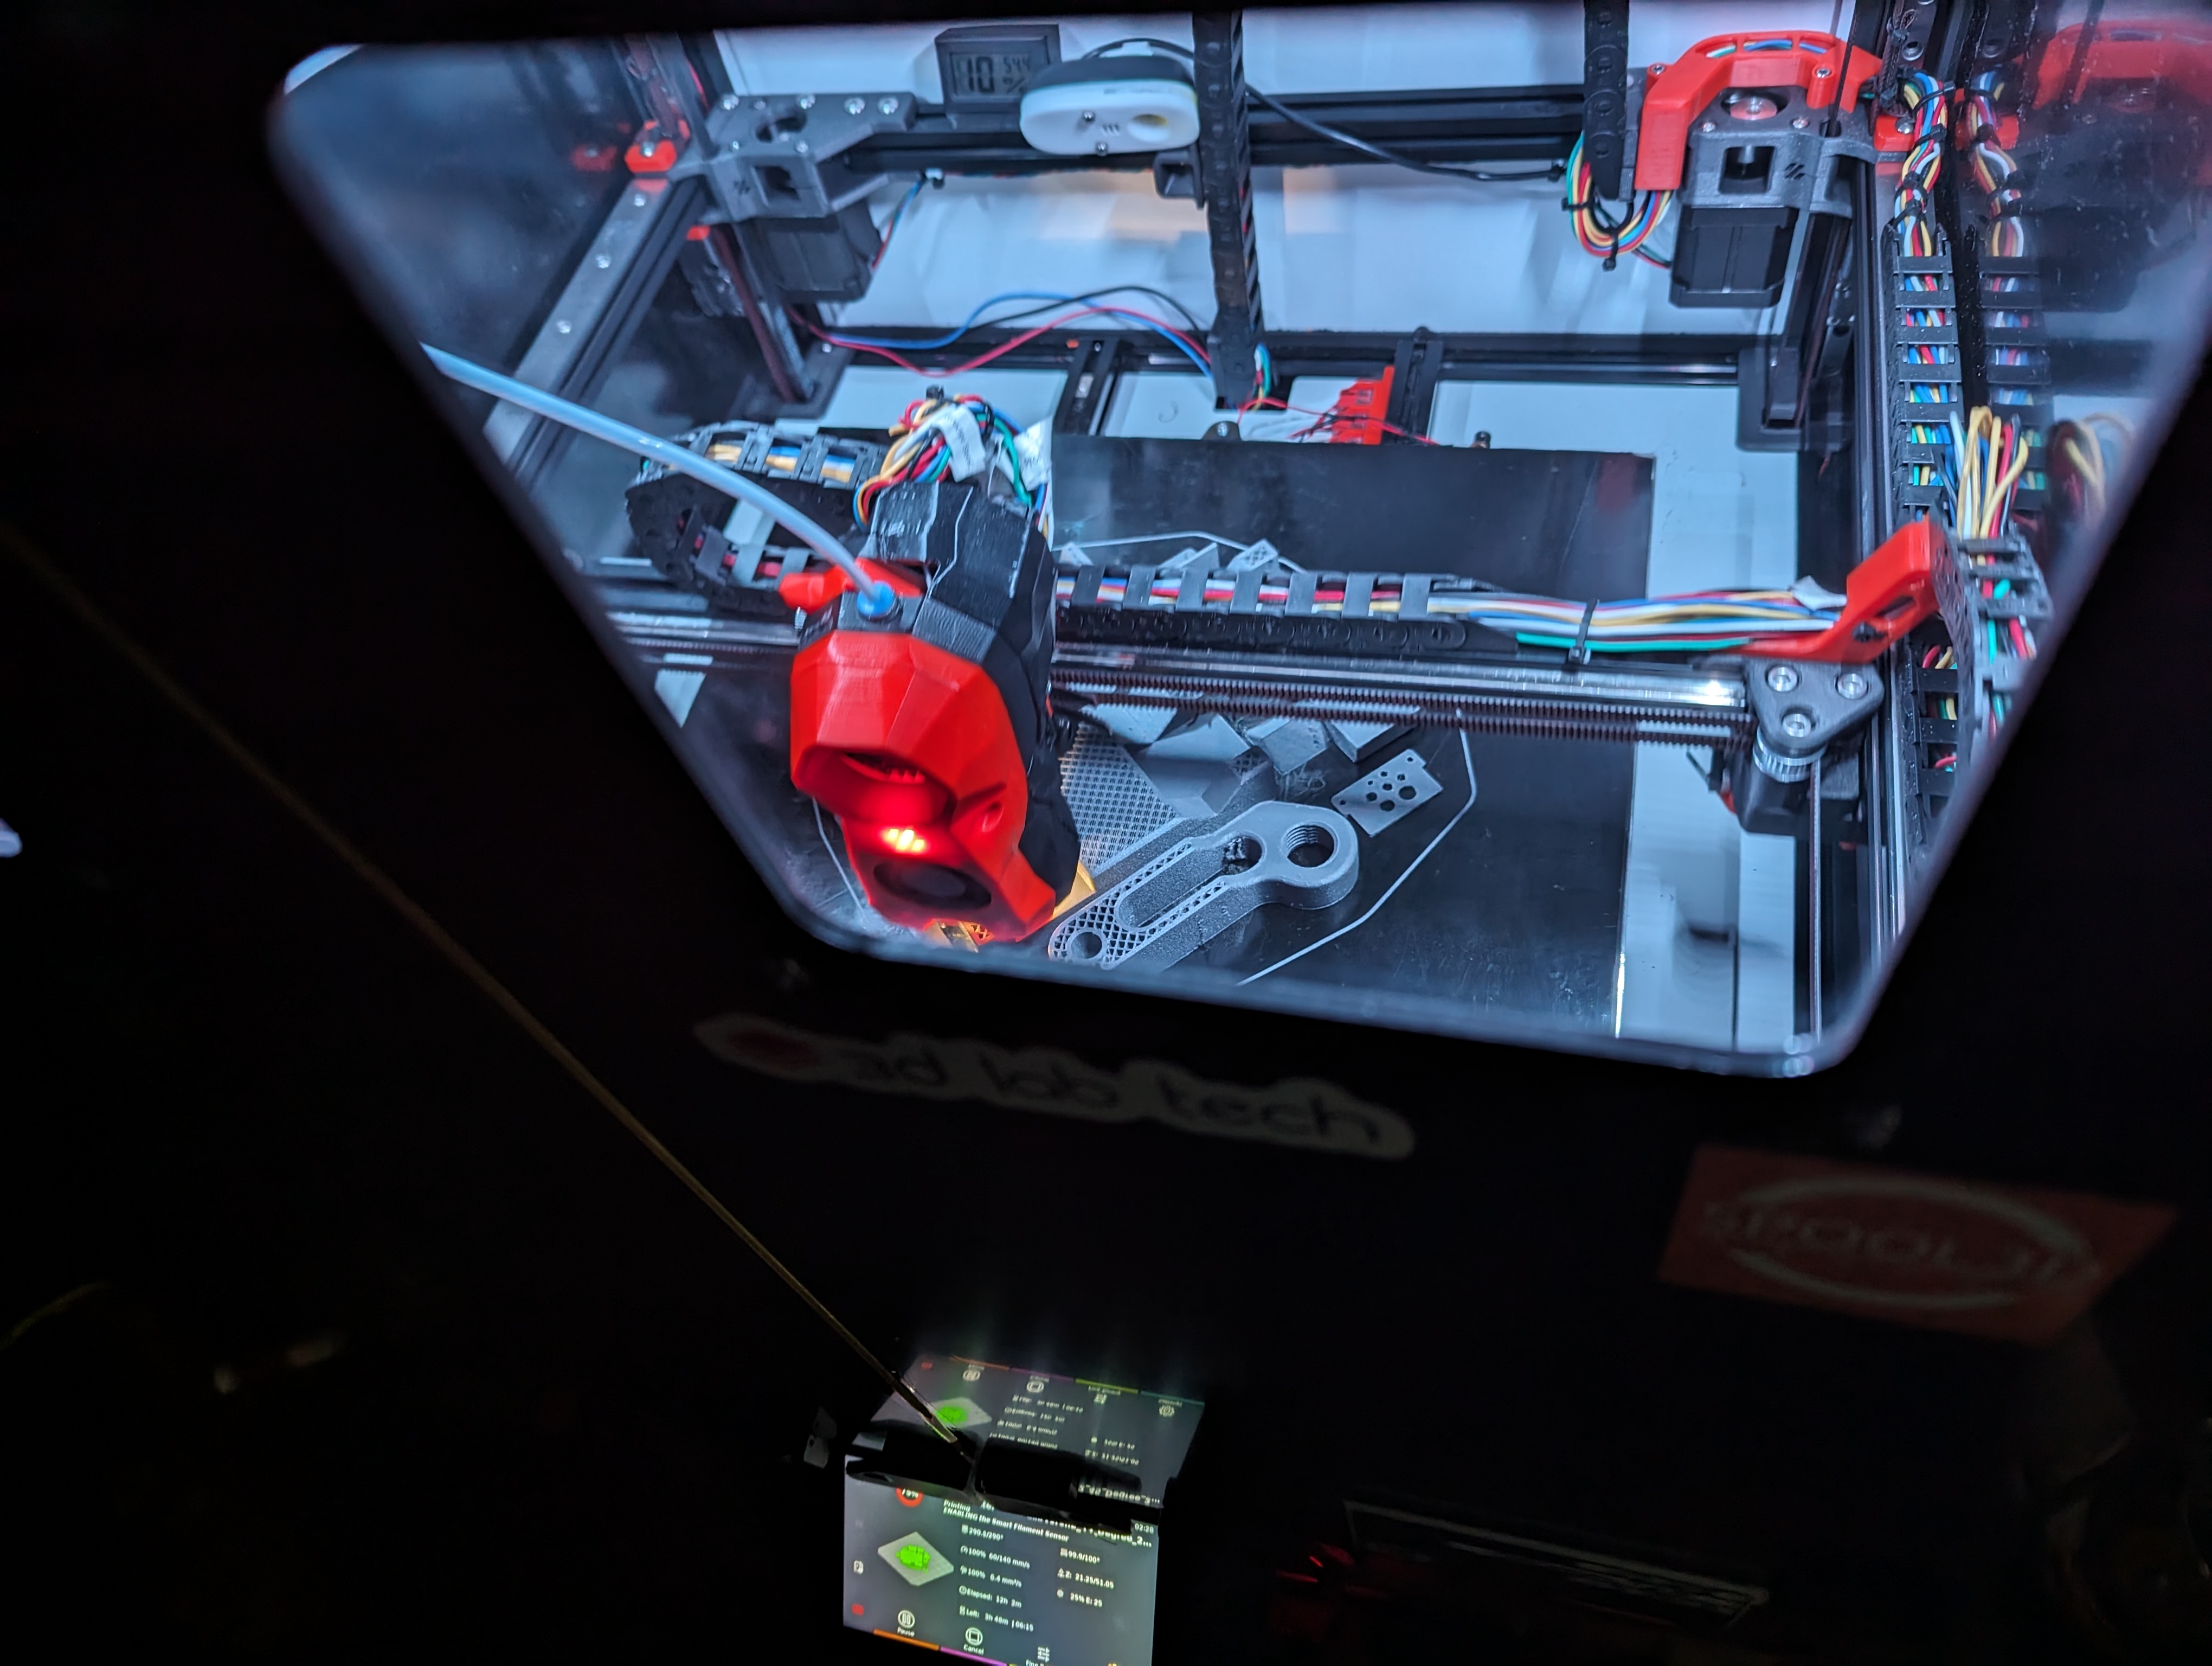
  • I have 2 doors with the 270 deg hinges with latches, but I’m honestly super interested in something like the clicky-clack for sealing, theres a slight gap between mine and I’ve not got around to making something to fill it without getting in the way. I have little tiny windows on mine (excuse the loose cable, hadn’t printed slot covers for the lights yet, just put the covers on today) you can kinda sorta see what’s going on but Yeah, definitely relying on known good profiles and stores offsets for each of my surfaces. Tap kinda sorta makes swapping nozzles less of an issue but I still like having different offsets, textured is a bit closer and nylon is just a bit further away.

    Super impressive it stayed adhered honestly, I had that happen with buildtak but not with a standard pei surface.


  • What’s your chamber temp with bed fans like? I just mounted a chamber thermistor (on the floor, I don’t feel like running cables through the drag chain right now) that I need to connect but the little thermometer module on my gantry was reading like 58 ish at 100 c bed temp, dropped to 56 ish overnight, was getting 40s before moving them to the front and actually setting up the automation macro for them.

    For impromptu insulation, Cardboard works well too, I stick my filament dryer in a box during the winter so it can actually hit the target temps, otherwise it runs forever.


  • To be fair, I only find it needed on stuff above pla, and even then it’s often good enough to preheat first, changed my start gcodes around to preheat before mesh levelling.

    Not sure if creality has a macro to calibrate the z axis, totally possible there’s a bit of skew across the x gantry, running the z axis just past its max usually sorts it on my franken-prusa, trying to adjust bed levelling with skew is a mess and made it look like the entire bed was going downhill.


  • What kind of probe? Are you preheating before auto levelling? Have you manually calibrated an offset? I used a sheet of paper which was good enough to rough it in and then fine tuned from there. Have you followed marlin’s bed levelling steps? G29 S0 should return mesh results, plonk the reaults of that into a visualisation tool of your choice if you don’t have the ability to visualise with your printer interface (klipper does and if I recall so does octoprint) to help see if you need further adjustment. Definitely do your mesh levelling at your expected print temperatures, give it a good heat soak of like at least 15 minutes before testing, preferably longer but good enough is usually fine.

    How did you manually level? I ended up doing a silicone tube mod on my prusa to get the build plate as level as possible, now within ~0.1mm deviation over the build plate at 90c which is definitely good enough for me. I also moved from a pinda probe to a tap probe, induction probes are definitely fine imo, you just need to tune the offset


  • I use a version of Hartk’s Stealthburner PCB on my voron and cludged an afterburner tool head onto my franken mk3s. They’re both breakout PCBs, the stealthburner one to my knowledge is passthrough, afterburner one has a thermistor and led on it for chamber temps and a hotend activity led. Totally optional and what you’ve done already is probably the more frequent things I’d change anyhow. There are fancier tool head boards, they’re effectively their own MCUs afaik that communicate via canbus, with those ones you’re running very few wires, something I’m thinking about but haven’t done yet

    For me, they reduced the amount of wiring I needed to run to the hotend and make it super easy to swap components, as I said, I’ve damaged things unintentionally before (I’ll say ADHD is contributing to that) so it’s really handy. Keeps the wiring neater as well, or at least gives you a place to manage them.


  • Definitely look at it, totally worth doing or pick yourself up one of the tool head pcbs, I can be heavy handed and having to redo wiring bundles every time I want to change something sucks. Molex connector will work really well if you don’t go the PCB route.

    As for damaging the board just by running it, the btt boards are super resilient, I’ve totally whoopsied with my octopus pro and shorted a fan header with multimeter and cut a wire I forgot was live on another. I pulled the jumpers on those headers, rest of the board has 0 issue considering the abuse it had thrown at it. I’d be really surprised if slightly dodgy power would damage 2 unrelated boards in a super specific way and damage nothing else.