- 6 Posts
- 23 Comments

 1·1 year ago
got myself a free spool a while back! unfortunately shipping cost as much as a kilo from amazon lol
It was good filament, but honestly not enough to make me buy it over others
1min30sec for every color change. Multiply that by hundreds of color changes and it adds up!
I am starting to see why people usually print whole plates full of multicolor prints. It’s the same amount of color changes, but more way more efficient.
Yeah it’s not the prettiest lol. This is 75% size, and 0.25mm layers, which doesn’t help. (I just wanted to shorten print time)
I had to use Prusa Slicer because of the custom GCode features, so my settings there are not perfect yet. It also isn’t controlling the aux fans properly like Creality slicer.
My normal 1 color benchies are 22 minutes and absolutely perfect, using my finely tuned Creality Slicer profile.

 1·2 years ago
considering I’m replacing the entire hotend it should be good!
they provide a spare heater-heatbreak-nozzle assembly in the box (thankfully)
Now I have to figure out how to put it back together lol. its like 10x as complicated as my Ender3 due to being super compact. It’s like repairing an Audi vs a Toyota lol

 3·2 years ago
GOT IT OUT! Thanks for the advice man. It wasnt the exact solution that worked but gave me hope to try more. Oven at 450F, got nozzle out finally, then torched it heavily until I was able to slide the heat break out. Took a while but I’m so relieved!

 2·2 years ago
you can do it directly in CAD too. I put carbon-fiber textures on the back of my phone cases I sell. It’s way more realistic feeling compared to the build plates that have the pattern on them.
It’s basically just a ton of little rectangles offset from each other. Then I ensure the bottom/top line direction is [0,90] in cura. You even get that cool depth effect when viewing at certain angles.

 3·2 years ago
tried this, but without a vice. Might have to try again since I have practically no other course of action. Cant even buy this heat sink…
Pro-tip: NEVER buy a printer with proprietary parts

 2·2 years ago
I did try sticking a small hex-key in the top hole in the heatsink and hitting with a mallet. It didn’t budge at all. I don’t have a vice though, so maybe I need more leverage to get it out.
The throat, and heater/nozzle assembly, is able to spin freely. This tells me that the throat and body of the heat break are separated. Yet it they are still connected somehow.
I am afraid to be too aggressive because if the throat breaks there is nearly no chance of getting the heat break out.
I saw a reddit post where one guy had luck using a tapping bit, might need to go buy one…
This is becoming a nightmare. The first printer they sent had a horribly bent/twisted frame. Second one has a bed leveling issue that caused permanent damage to the bed AND made the printer unusable due to a badly-clogged heat break
edit: forgot to thank you for your time, I appreciate the tips!
whatever you do don’t get a Creality K1.
First one had a 10deg bend in the frame, the replacement had a bed leveling sensor issue that ruined my bed and fused my heatsink and heatbreak.
There are no replacement heat sinks available, so now I have a $700 paper-weight until they finally reply to my email.
I was a Creality fan boy until this, NEVER AGAIN. Thinking I’ll go to Bambu

 1·2 years ago
how do they know if you are a startup or a hobby user? couldn’t you just lie and have it for free forever? (with 10 editable project limit)
The Creality K1 is $399 right now. You could get that and the MicroSwiss improved hotend and still be under $500.
It is able to be rooted and should be fully compliant with the open source klipper license soon. This printer is pretty much plug-and-play, but you can change parts as you see fit (nozzles, hotends, belts). It’s not proprietary like Bambu
looks clean!
you could even cut some thin foam sheets and put them in there to prevent rattling
Not yet, I need to try that
It’s an LED strip diffuser, this is the mount part
I usually use glue stick and never have issues but I just ran out.
Brims are a good idea for the meantime thoughThis is only PlA+ so it should be behaving with a heated bed alone
There wasn’t much left and nothing that would collide with it. Seemed to work well enough
I usually use glue stick but just ran out
fairly high infil percentage if I remember correctly. I did 20% first and it was very sparse
Lightning infill from Cura
Thanks! It’s fun to mix both skills into one project.
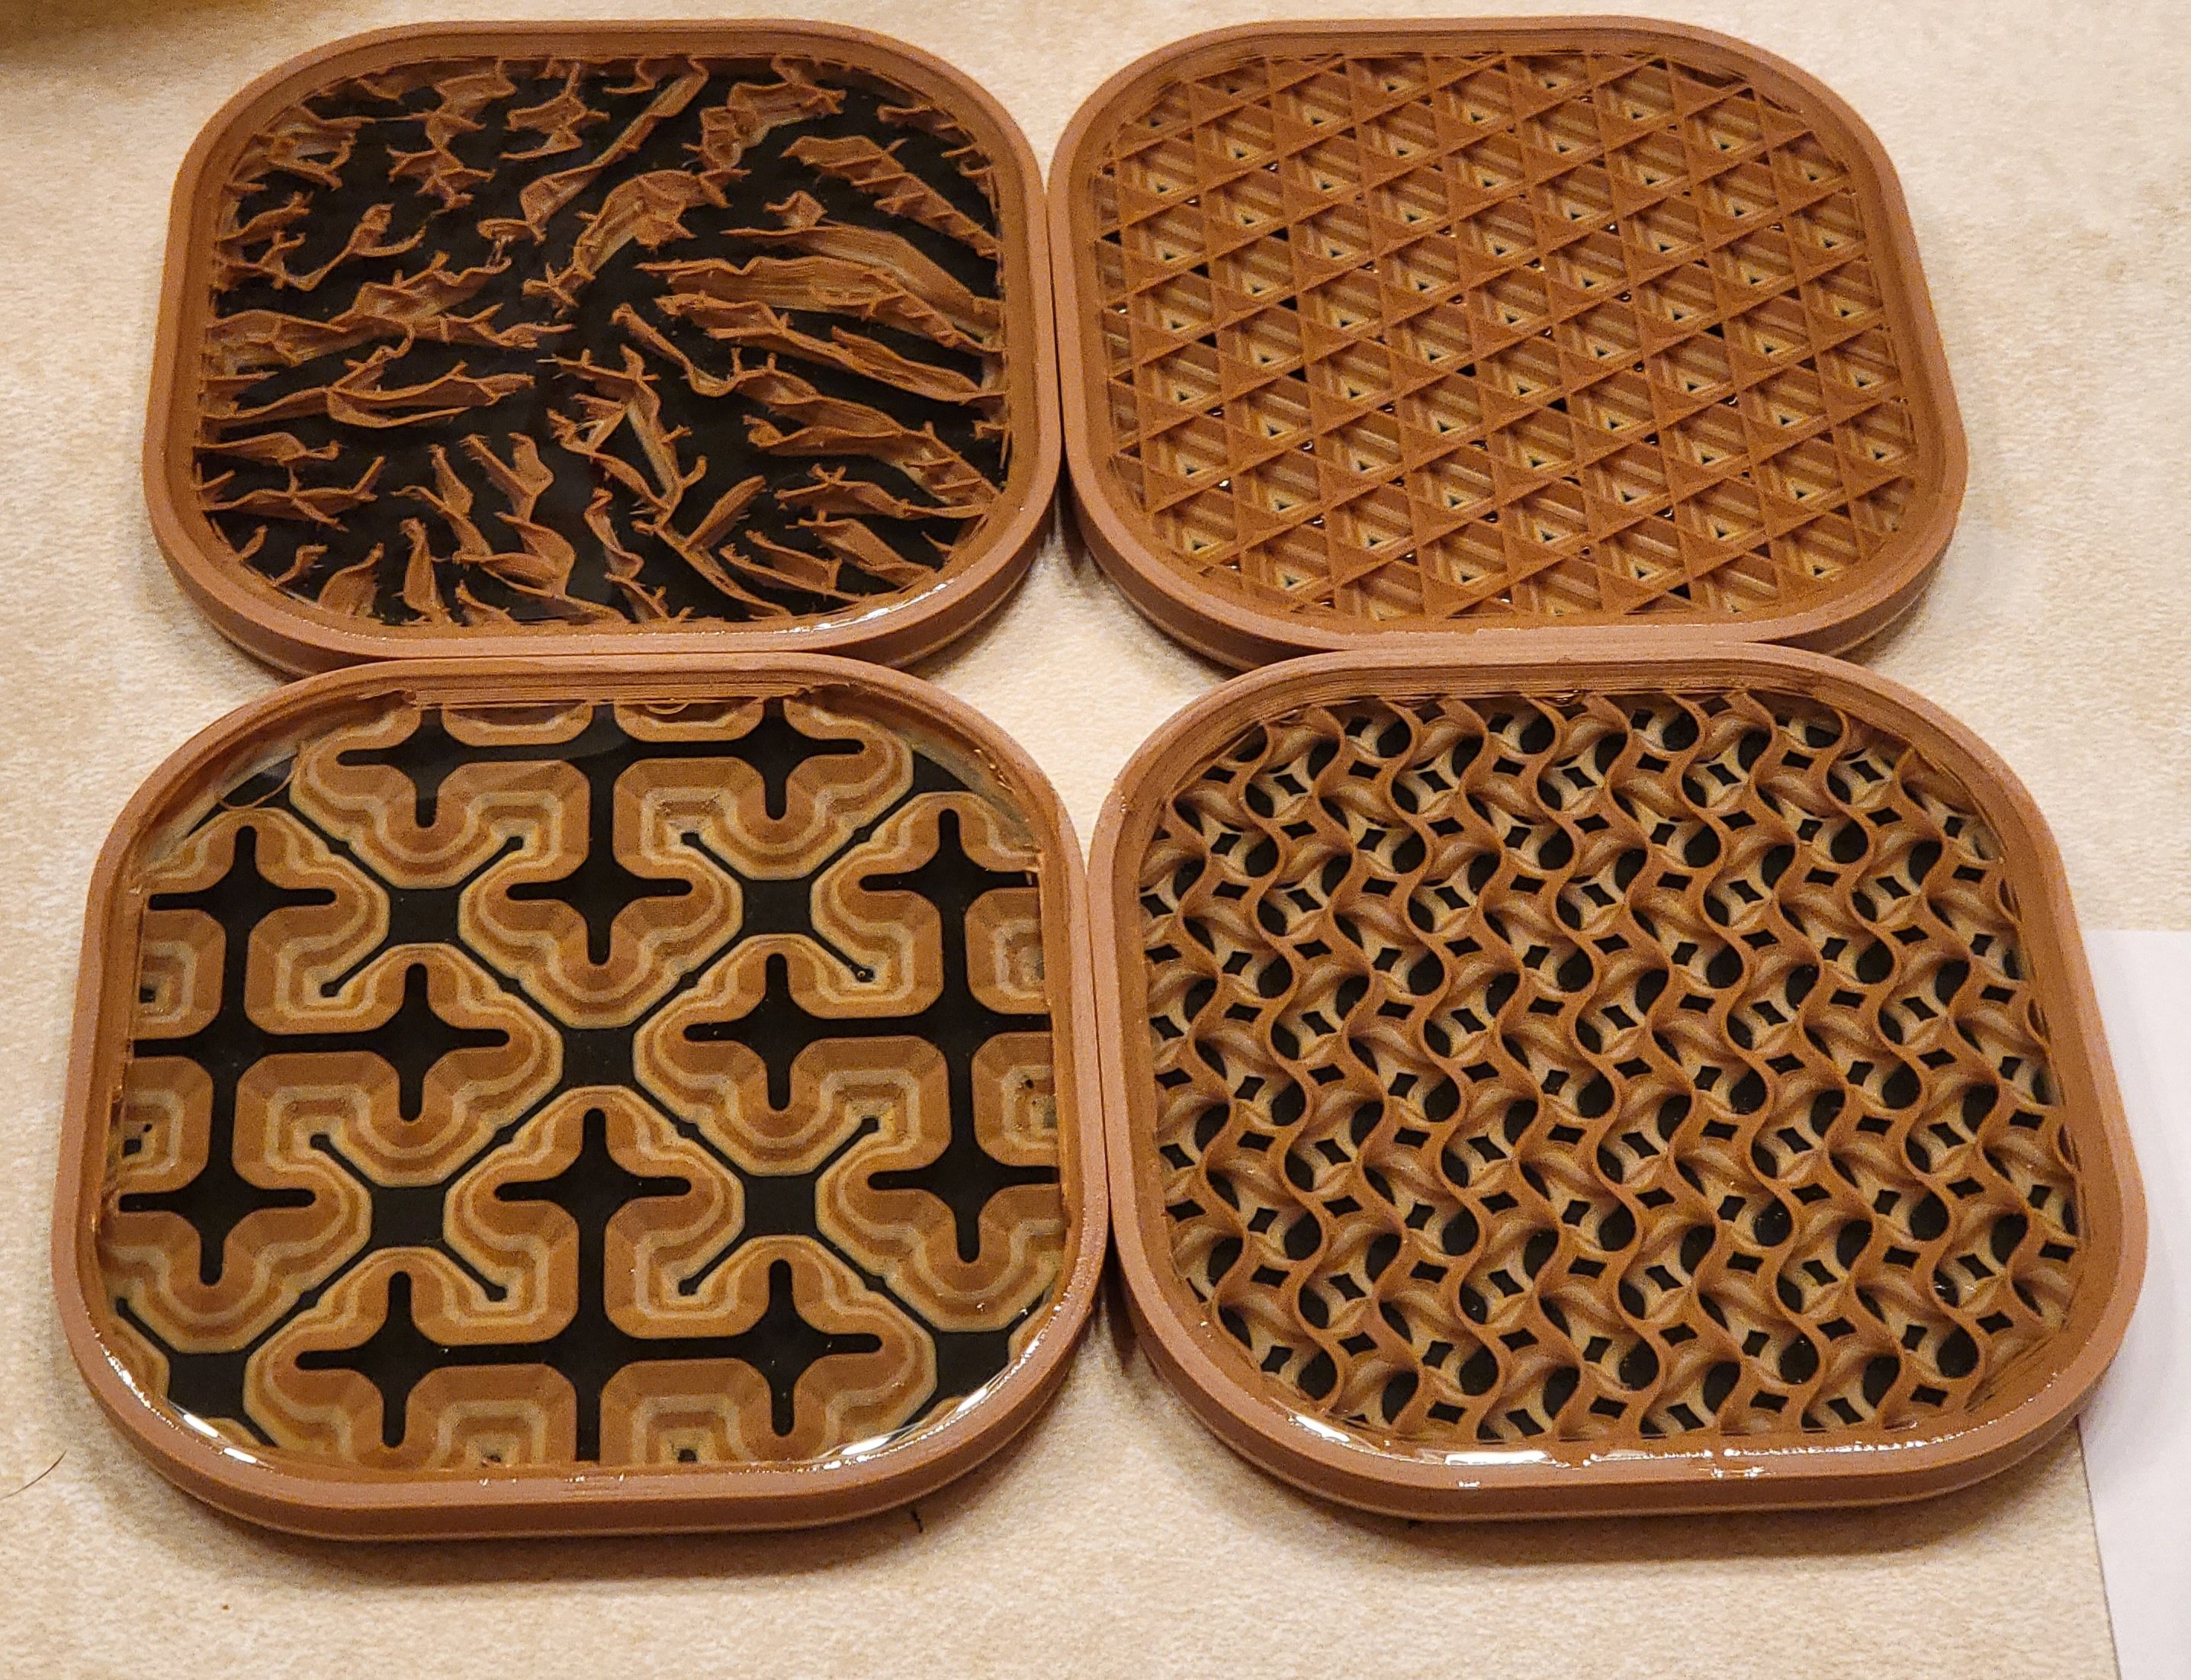
Here is how they turned out

Learn CAD my guy! No asking for permission if you made the design!
I make between $500 and $1k a month in profit selling my original designs. 3D Printing is so much more rewarding when you can turn ideas into products instead of finding files people made